Your Cart is Empty
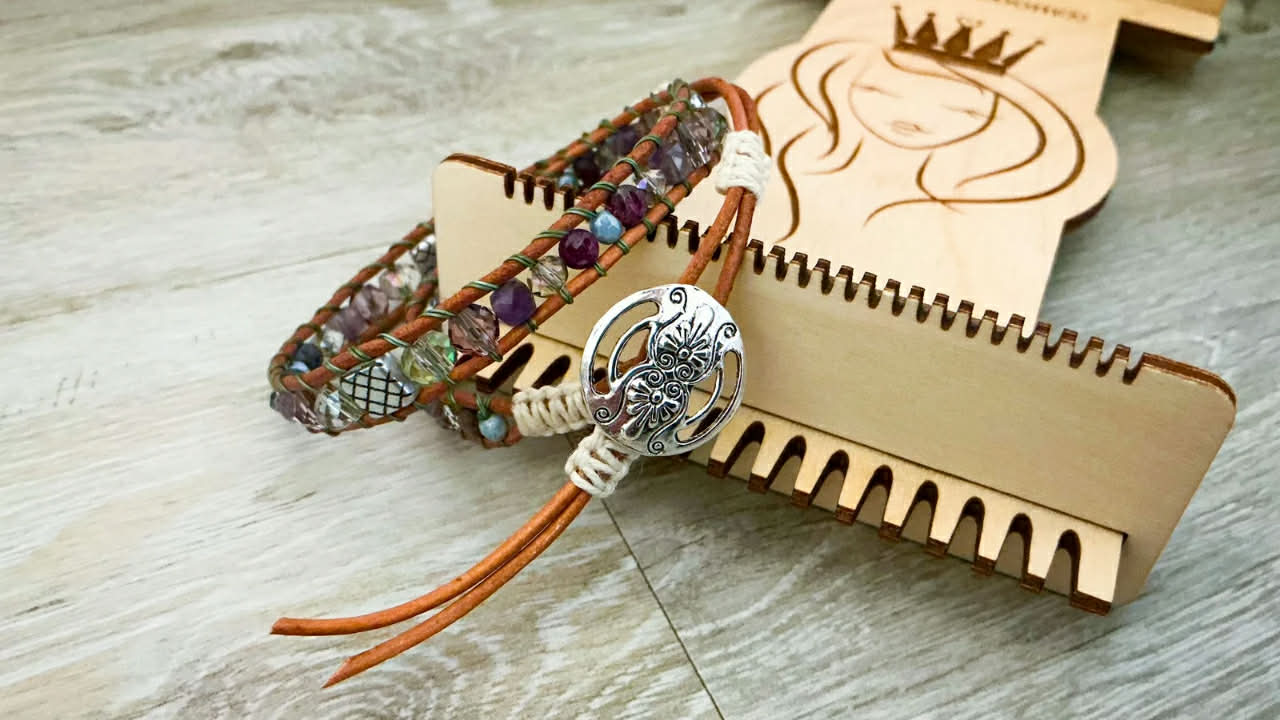

I purchased many different items and really like them all! I enjoy your creative vision! I posted about the bracelet because it is so uniquely beautiful!
Love this thread! Great color! I am looking forward to seeing how it works in a loom project I will be working on next month!
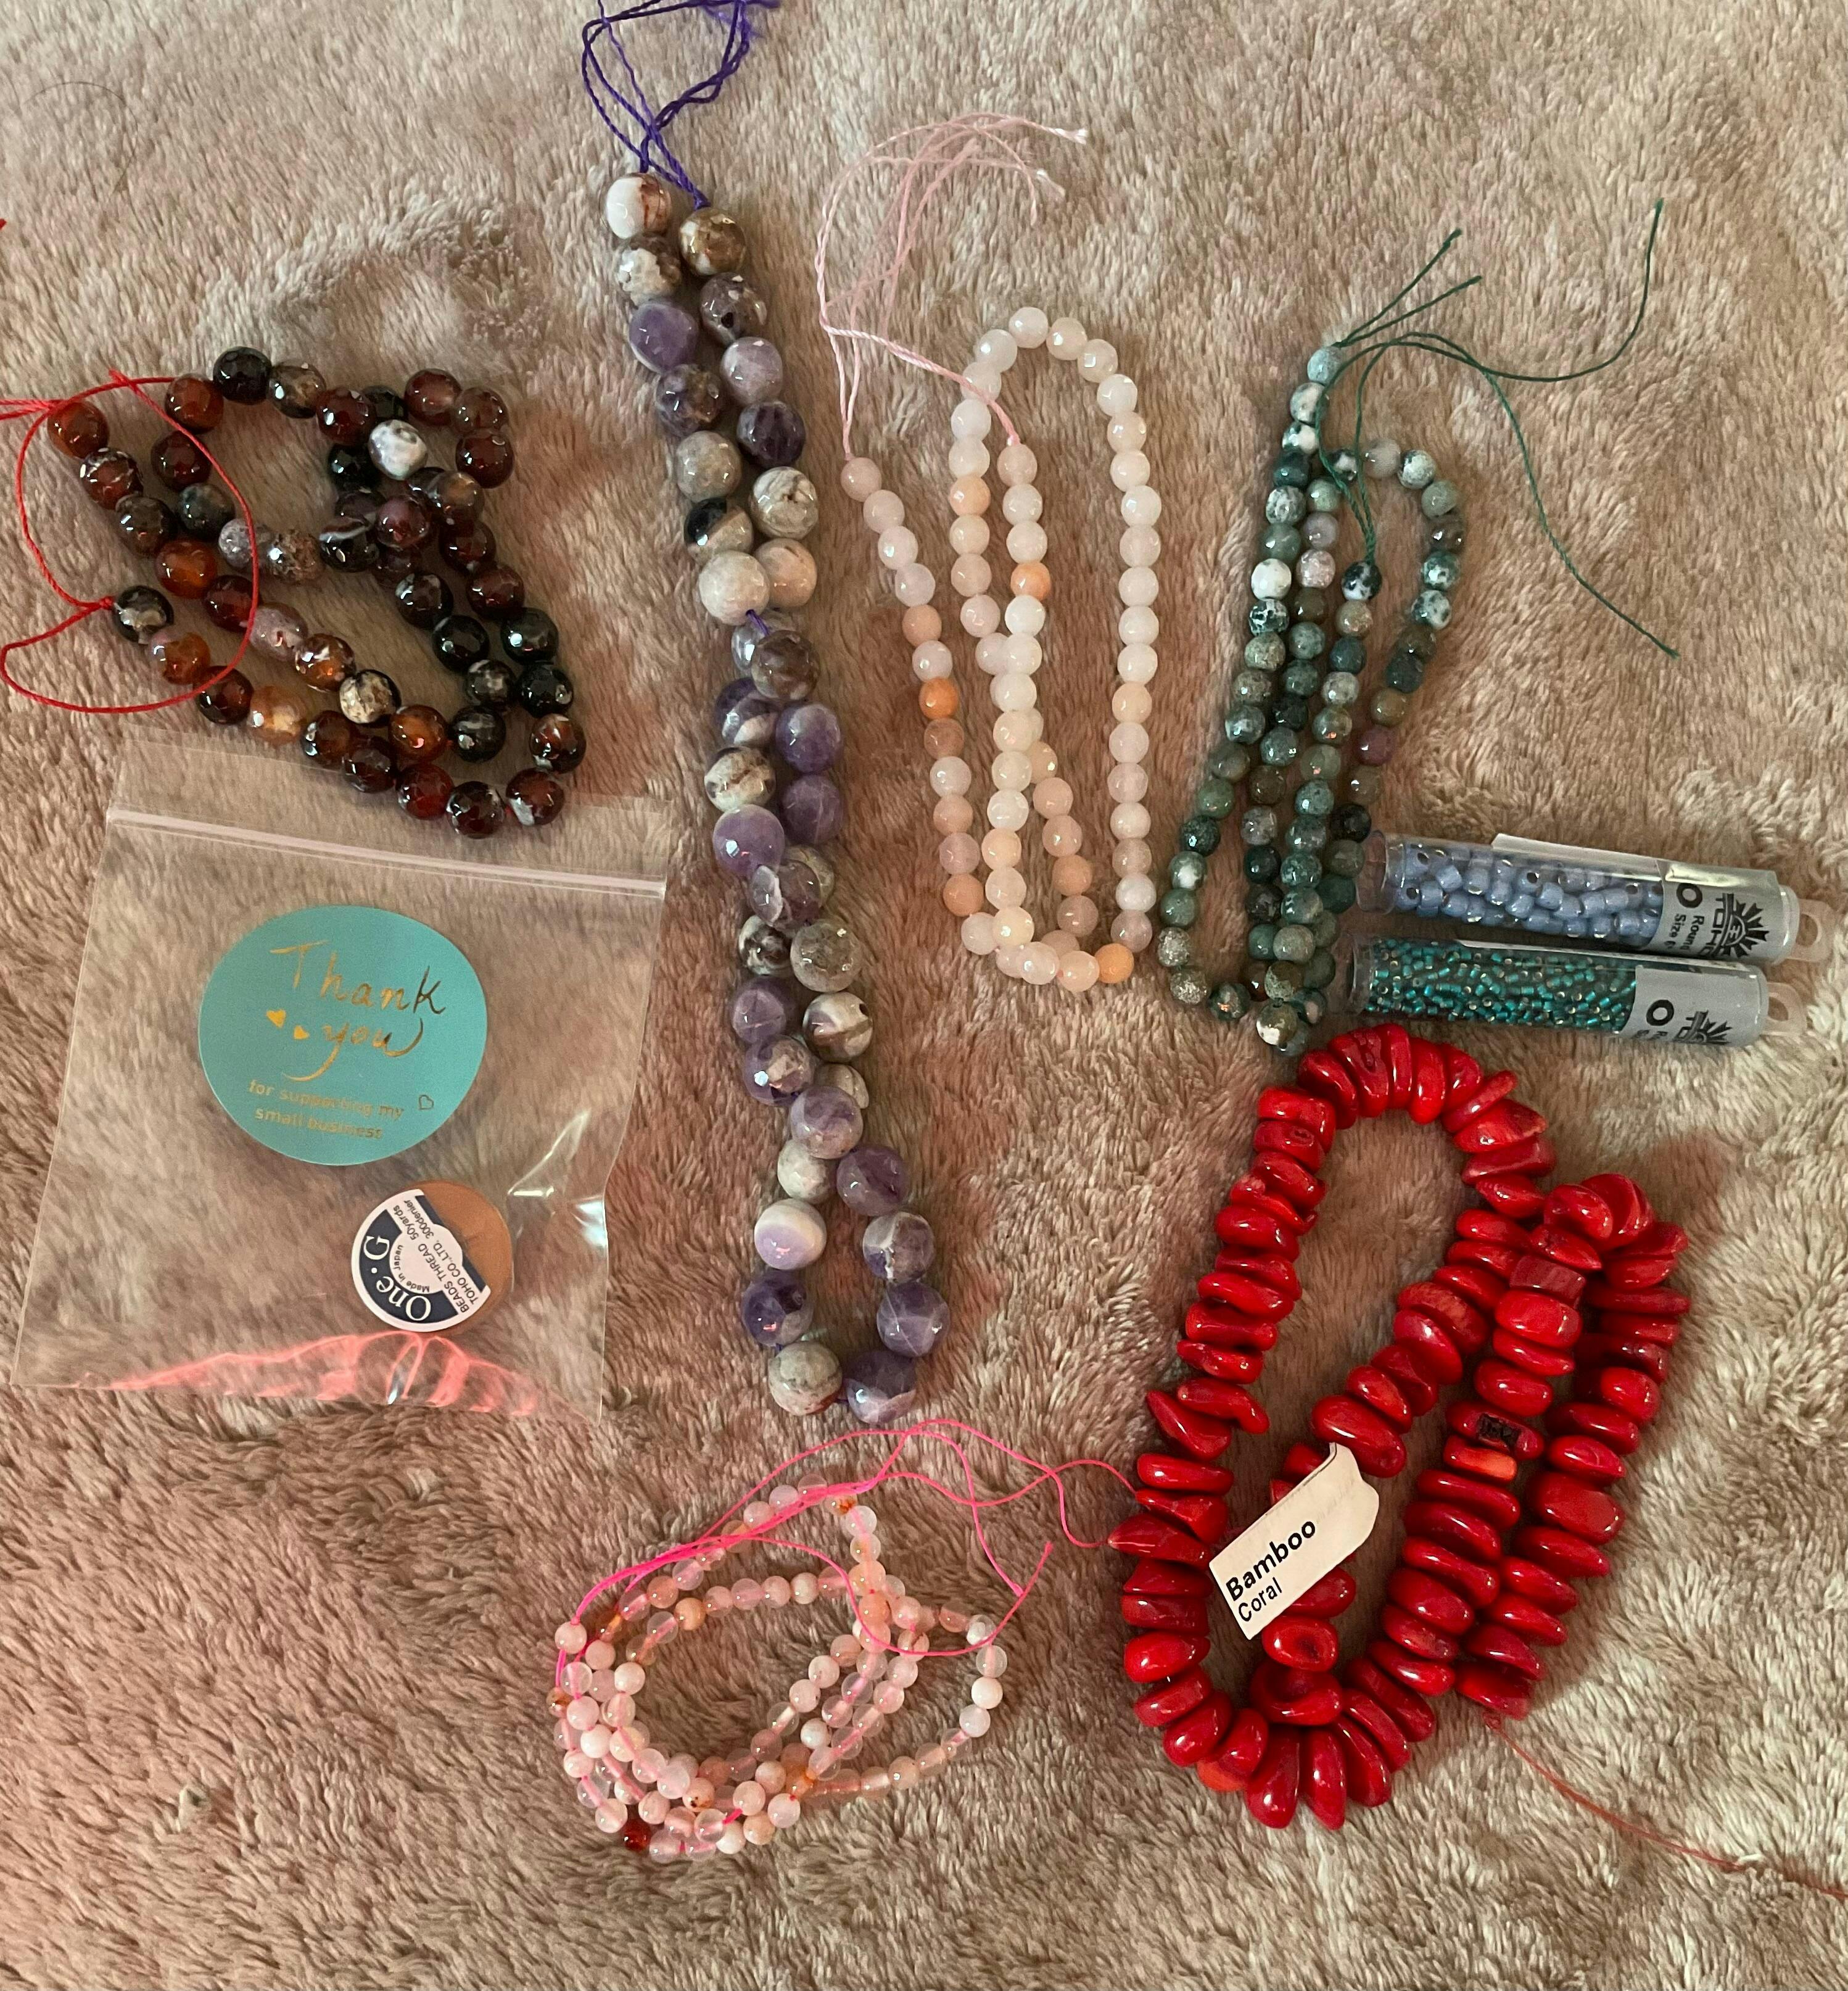
El color y tamaño de mis amatystas me encantaron es increible que cada gema tenga esos colores naturales tan espectaculares. Gracias Juliana por mi regalito 🙃